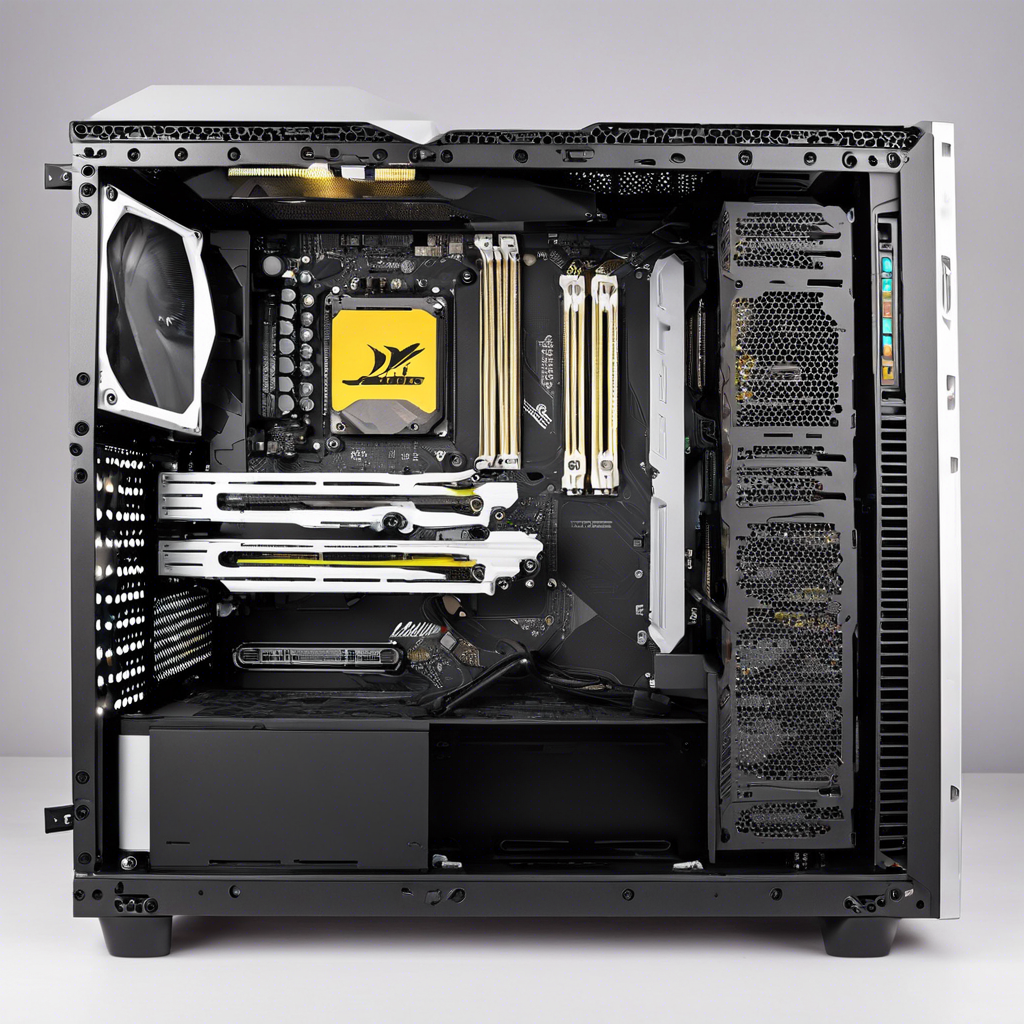
Building a custom gaming PC can be a rewarding endeavor for anyone passionate about gaming and technology. Not only does it allow you to tailor your machine to your specific needs and preferences, but it can also be a fun and educational process. Here is a step-by-step guide to help you navigate the process and build your dream gaming rig.
First, you must decide on the components you want to use. This includes the processor, motherboard, memory, storage, graphics card, power supply, and case. It’s important to do your research and choose components that are compatible and will provide the performance you need for your favorite games. Online forums and hardware review sites can be invaluable resources for this step.
Once you’ve gathered your components, it’s time to start building. Begin by installing the processor and memory into the motherboard, following the manufacturer’s instructions. Then, install the motherboard into your chosen case, along with the power supply. Connect the power supply to the motherboard and any other components that require power, such as the graphics card and storage drives.
With the basics in place, you can now turn your attention to the peripherals. Choose a high-quality keyboard, mouse, and headset to enhance your gaming experience. These peripherals can greatly impact your performance and comfort, so it’s worth investing in something that suits your preferences and gaming style.
Now, it’s time to install the operating system. This will typically involve creating a bootable USB drive with the OS installer and following the on-screen instructions. Once the OS is installed, you’ll need to install the drivers for your components, which can usually be found on the manufacturer’s websites.
With the basics in place, you can now focus on optimizing your setup. This includes overclocking your processor and graphics card to squeeze out every last bit of performance, as well as customizing your cooling solution to keep temperatures in check. There are various guides and tools available online to help you safely overclock your system.
Don’t forget to pay attention to cable management. A tidy build not only looks better but also improves airflow, helping to keep your components cool. There are various cable management tools and techniques you can use to achieve a clean and functional build.
Finally, with your system built and optimized, it’s time to test it out. Boot up your favorite games and see how your new rig performs. Run stress tests and benchmarks to ensure that your system is stable and performing as expected.
Building a custom gaming PC can be a challenging but hugely satisfying project. With careful planning, research, and execution, you can create a powerful machine that delivers an exceptional gaming experience, tailored specifically to your needs. So, take your time, enjoy the process, and congratulations on taking the first step toward your dream gaming PC!
